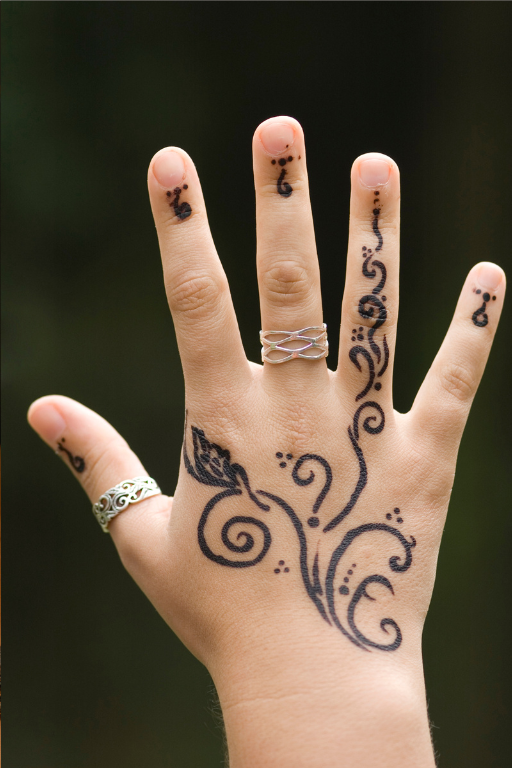
Henna, also known as mehndi, is an ancient form of body art that has been used for centuries in various cultures around the world. It is especially popular in South Asia, the Middle East, and North Africa, where it is applied to hands and feet during weddings, festivals, and celebrations. If you’re new to henna hand designs, this beginner’s guide will walk you through everything you need to know—from understanding the basics to creating your first design.
1. What is Henna?
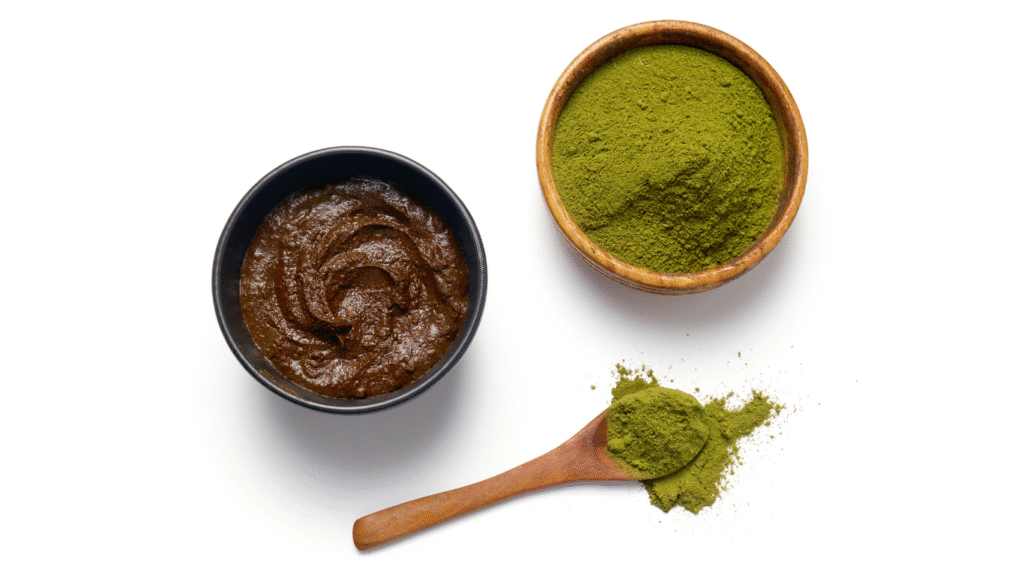
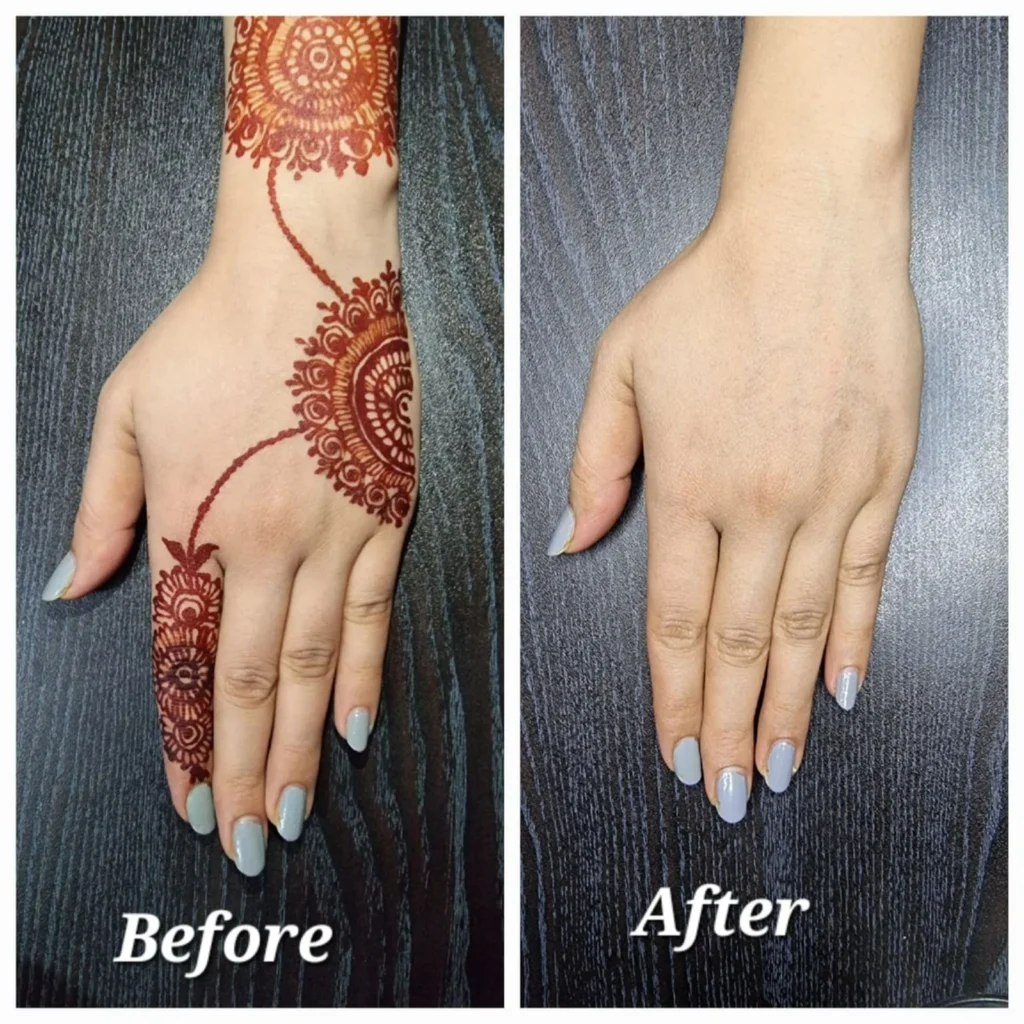
Henna is a natural dye made from the leaves of the Lawsonia inermis plant. When ground into a fine powder and mixed with liquid (like lemon juice or tea), it forms a paste that can stain the skin with a reddish-brown color. This stain can last anywhere from a few days to two weeks, depending on the quality of the henna and how well you care for it.
2. Basic Tools You’ll Need
Before you start creating henna designs, make sure you have the right tools:
- Natural Henna Powder – Always choose pure, chemical-free henna for best results.
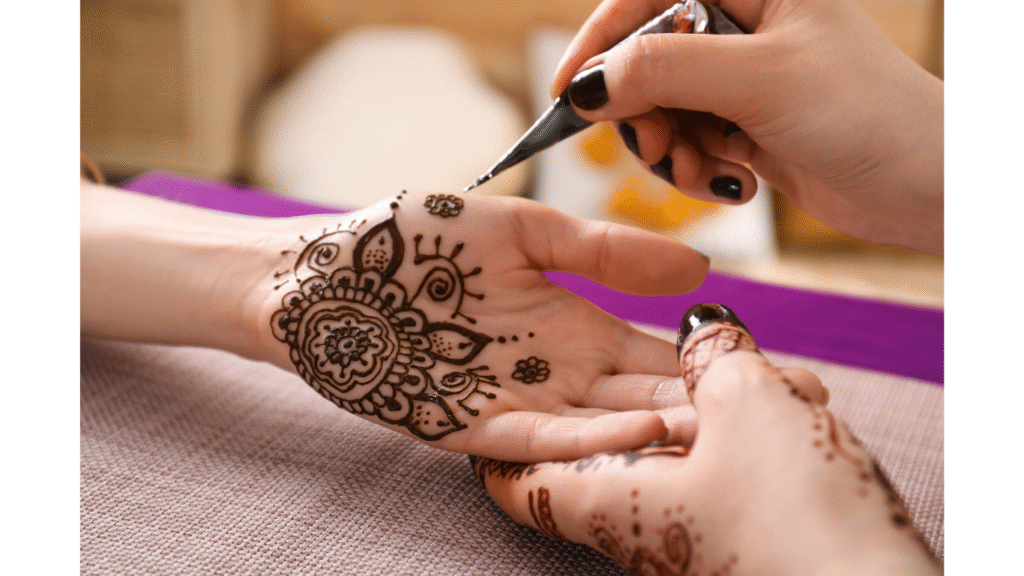
- Applicator Cone or Bottle – Used to draw fine lines and patterns.
- Essential Oils – Such as eucalyptus or lavender to darken the stain.
- Lemon Sugar Sealant – To keep the paste moist and improve the color.
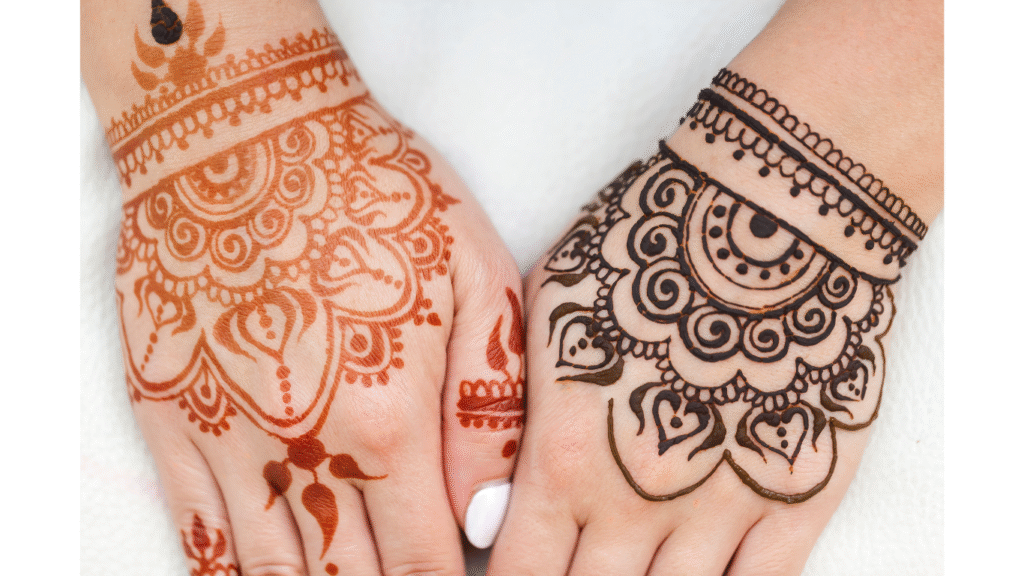
3. Simple Patterns for Beginners
If you’re new, start with easy designs before moving to complex ones:
- Dots & Lines: Great for practicing control.
- Simple Flowers: Circles with petals are easy and beautiful.
- Paisleys: A traditional motif that’s elegant and versatile.
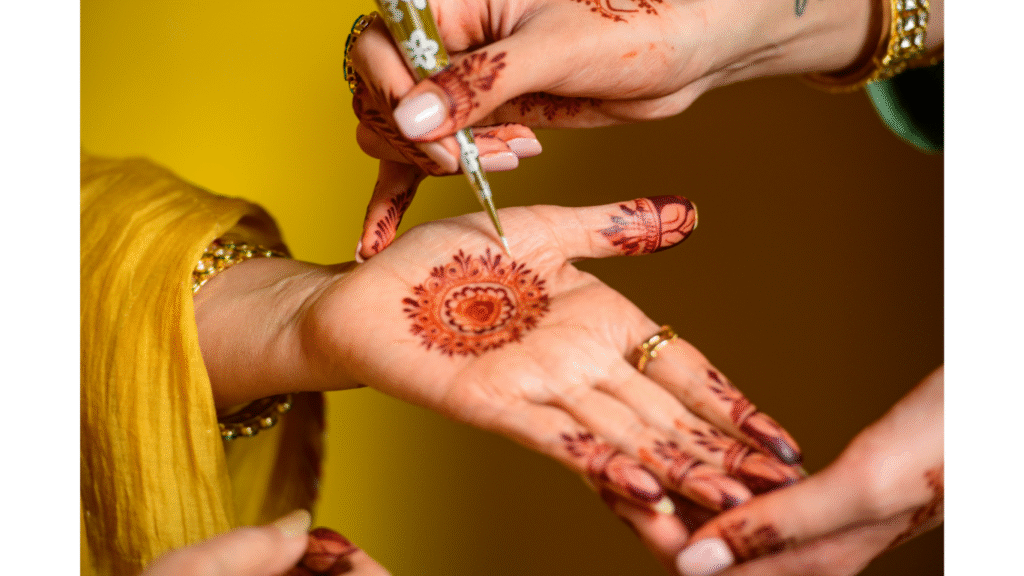
- Mandala: Symmetrical designs that look stunning in the center of the palm.
4. Step-by-Step Application Process
- Mix the Paste – Combine henna powder with lemon juice, sugar, and essential oils until smooth. Let it rest for 6–12 hours.
- Prepare Your Skin – Wash your hands, dry them, and avoid using lotion.
- Draw Your Design – Use a cone or applicator to apply the henna.
- Dry & Seal – Let it dry for 15–20 minutes, then dab lemon sugar on top.
- Remove & Reveal – After 4–6 hours, gently scrape off the paste and avoid water for the next 12 hours.
5. Tips for a Darker, Longer-Lasting Stain
- Leave the paste on for as long as possible.
- Keep your hands warm during the drying process.
- Avoid soap and water for the first 24 hours after removing henna.
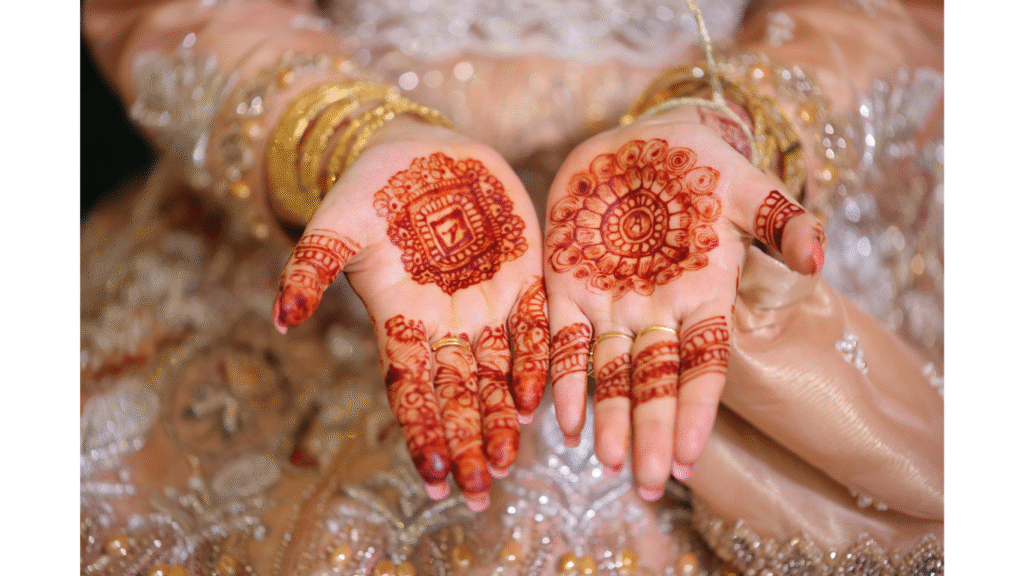
6. Inspiration for Your First Designs
You can find plenty of inspiration online or in henna books. Look for:
- Bridal designs
- Festival patterns
- Minimalist styles
- Modern geometric shapes
Conclusion
Henna hand designs are a beautiful, creative way to celebrate culture and art. Whether you’re preparing for a wedding, a festival, or simply exploring your artistic side, starting with simple patterns and good-quality henna will help you achieve stunning results.
🌿 Recommended Starter Kit for Beginners:
- Henna Design Book + Natural Henna Powder Kit – All you need to start creating beautiful designs at home.
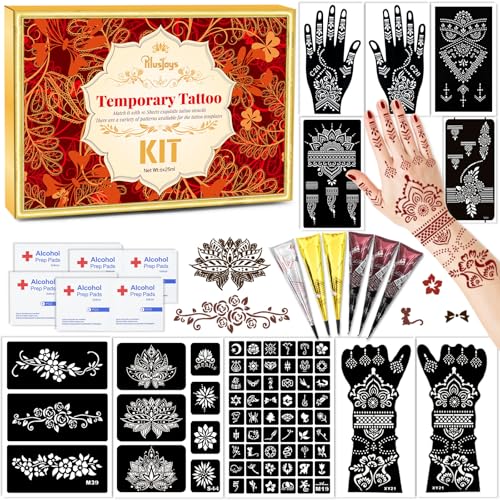
- RICH TEMPORARY TATTOO KIT— Tattoo Stencils set contain 10 waterproof stencils (7 large hand & half-arm designs,71 patter…
- SAFE AND NON-TOXIC FORMULA – Our tattoo ink contains natural plant ingredients, does not contain any harmful chemicals, …
- EASY TO USE — Innovatively added 8 alcohol pads (prep skin) + 1 precision brush for flawless application, perfect for be…